Excel is one of the most popular Power Automate connectors, enabling users to integrate thousands of different services with their spreadsheets. However, most part of the Excel actions available in Power Automate are related to table capabilities, while many users and organizations structure their spreadsheets without a table formatting.
Fortunately, several non-table related tasks can be executed in Excel Web by using the Office Scripts, and Power Automate has a specific action to run these scripts inside a flow.
Office Scripts
Office Scripts are a feature in Microsoft Excel to automate and customize repetitive tasks. It allows the users to create custom functions and automation sequences directly within the Excel interface, by recording tasks or directly coding it in TypeScript.
A key benefit of Office Scripts is its versatility, as it operates in both Excel Web and Excel Desktop, ensuring a consistent user experience across platforms without any limitations. It works similarly to the VBA Macro, yet with the added advantage of web compatibility and a more straightforward language: for a beginner, TypeScript may be much easier and clear than the VBA language.
You can find more details about how to get started with Office Scripts in this article.
For real-world Office Scripts examples, you can also explore the templates available in the Office Scripts Gallery.
Function parameters in TypeScript
Office Scripts are written in TypeScript, which is a powerful programming language based in JavaScript and used in many other applications out of Excel. One of the major concepts in TypeScript/JavaScript (as also in other programing languages) is the functions, which represent a block of reusable code that performs some specific tasks. While this article doesn’t investigate deeply how functions operate, it is important to understand that functions can have parameters, which are values sourced from external inputs and employed within the function’s internal logic.
When creating a new Office Script, you must notice that the default code template will start with function main(workbook: ExcelScript.Workbook){}, and all of your code changes will be encapsulated inside the curly brackets. That’s because the Office Scripts, as a TypeScript based tool, will perform all of its tasks inside a function named main.
The “function main” structure has a reference to workbook inside parentheses (underlined in red below), which is the parameter. In the context of Office Scripts, the workbook is always passed as a parameter to the “function main”, enabling the code to interact with the Excel file. As the parameters are essentially values coming from outside a function that must be used inside it, let’s take as example the line 2: we are assigning the active worksheet to a variable, and to achieve it, we need to refer to the workbook element.

When assigning parameters to a function in TypeScript, we need to explicitly declare its data types (strings, integers, arrays, objects), so TypeScript can anticipate which kind of data to expect and prevent errors in the code. For the workbook parameter, the data type is ExcelScript.Workbook, a custom data type for Office Scripts that defines an Excel file and allows the user to interact with the spreadsheets, by adding formats, accessing ranges, creating worksheets and much more.
Running an Office Scripts with parameters in Power Automate
To run an Office Script from Power Automate, you just simply to insert the ‘Run Script’ action inside a flow, and select your Script from the list (highlighted in yellow):

In this particular example, the script being executed adds the text “Office” to cell A1 within the active worksheet. We are using the following code:
function main(workbook: ExcelScript.Workbook) { let selectedSheet = workbook.getActiveWorksheet(); selectedSheet.getRange("A1").setValue("Office")}
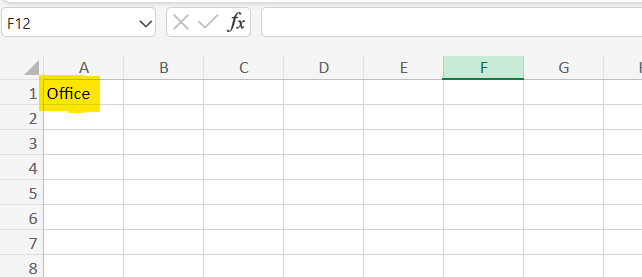
After run the flow, as expected, the value “Office” is added to the cell A1:
However, let’s assume that we want to add a dynamic text to the cell A1. In this case, we need to make some small changes in our Office Scripts code.
First, we need to add a new parameter to the function main, as this is how we can pass values from Power Automate to Office Scripts. In the line 1, right after the workbook:ExcelScripts.Workbook, we add the parameter text, which has the data type string, as underlined in red (make sure to separate the parameters by comma). After that, in the line 4, we just replace the default value “Office” for a reference to text (without quotes), as underlined in green, which will now capture dynamically the value sent by Power Automate:

After saving the script, come back to Power Automate and edit the flow again. Now, when selecting the ‘Run script’ action, a new input field will be displayed (highlighted in yellow), corresponding to the parameter added to your function main:

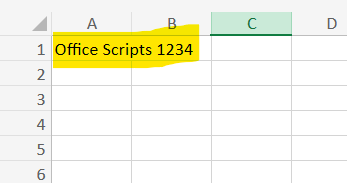
Insert the text that you want to send to Office Scripts (for this example, we are using “Office Scripts 1234”), save the flow and run it again. This time, you will observe the specified text, dynamically passed as a parameter from Power Automate, populated in cell A1 rather than the static “Office”:
Finally, it is possible to dynamically specify the target cell or range from Power Automate, offering users the flexibility to not only determine the text to be inserted but also choose the destination within the Excel file. In the parameters, we are including the targetCell, with a string data type (underlined in yellow), and in line 4, we are replacing the “A1” for the targetCell reference (underlined in blue):

Again, Power Automate will display a new input field for the tagetCell parameter: enter the desired cell reference, save the flow and run it:

At this time, the text will be inserted in the cell provided by Power Automate (in our example, we’ve used the cell B4):

Here is the final version of the code used in this example:
function main(workbook: ExcelScript.Workbook, text:string, targetCell:string) { let selectedSheet = workbook.getActiveWorksheet(); selectedSheet.getRange(targetCell).setValue(text)}
Conclusion
Integrating Office Scripts with Power Automate offers a powerful solution for Excel tasks automation. By incorporating parameters, users can dynamically control the data entry directly into the cells or ranges, creating an effective alternative for those organizations that do not work with data formatted as table.
